Network printers can be a powerful, efficient, and reliable tool in the workplace--once you get them set up, that is. Today we'll take you through the process step-by-step so that you're ready to put your machines to great use!
Simple Steps
Choosing the right network printers for your company's unique needs and goals was the hard part. Now all you have to do is set up your new machines, and you're ready to start doing all kinds of good things for your company--like saving money, improving efficiency, and making communication smoother than ever.
Here's a quick guide on setting up your network printers!
Step 1: Plug it in
This is pretty simple: position your machine in just the right place and then plug it in. (Don't worry--the rest will be almost as easy as this!)
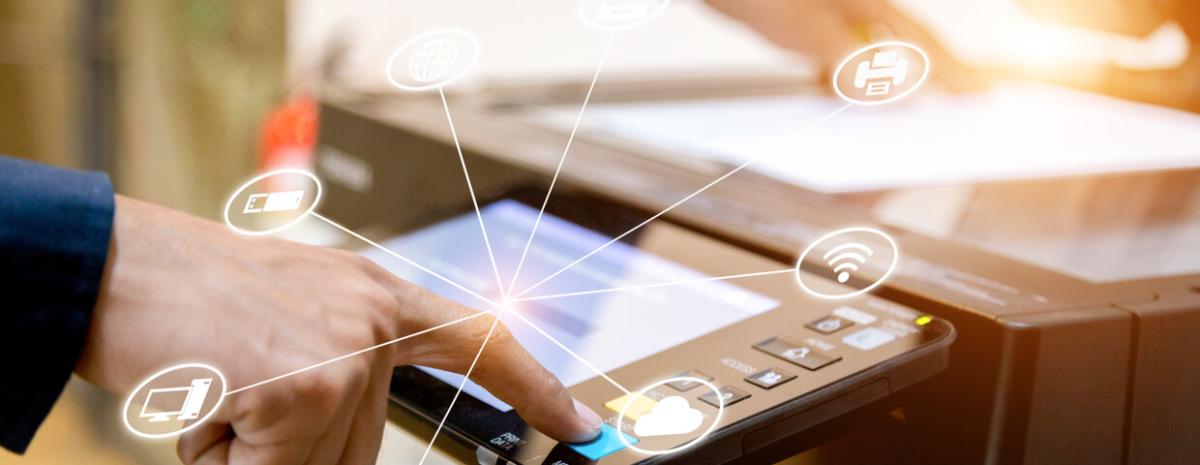
Step 2: Connect to your network
There are two different ways to do this, depending on what type of network printer you have and what your company's needs are.
If you're using Wi-Fi, the machine will do most of the work for you. All you have to do is use the LCD menu display to choose the right options and follow all the prompts; your user manual has instructions to help you every step of the way.
If you're using an Ethernet cable, the rules are a little different. Make sure you check your user manual for exact instructions.
Step 3: Make more connections
Now it's time for your computers to "find" the new network printer. This process will look different between operating systems.
For Windows computers, go to the Control panel and select "Devices and Printers." Click "Add a printer" and then "Add a network, wireless, or Bluetooth printer," and your printer should show up. Select it to begin the install wizard.
For Mac OS, you'll want to make sure that your printer supports AirPrint or Bonjour; if it does, find "System Preferences" and then "Print & Scan," then use the + icon to add your printer from the list.
If your printer isn't supported, that's no problem--you'll have to use your printer's manual to help you locate the IP address and then connect using that.
Step 4: Get printing!
Follow these simple steps, and you'll be well on your way to a streamlined, powerful print environment, all perfectly hooked up to your network.
Have more questions about network printers? We're here to help. Contact us today!